Category: Photography & Stargazing

Capture the magic of the desert – photography tips, stargazing guides, and the best spots for night sky viewing.

  • Stargazing in the Sahara: Why Morocco’s Desert Has the Best Night Skies

    Stargazing in the Sahara: Why Morocco’s Desert Has the Best Night Skies

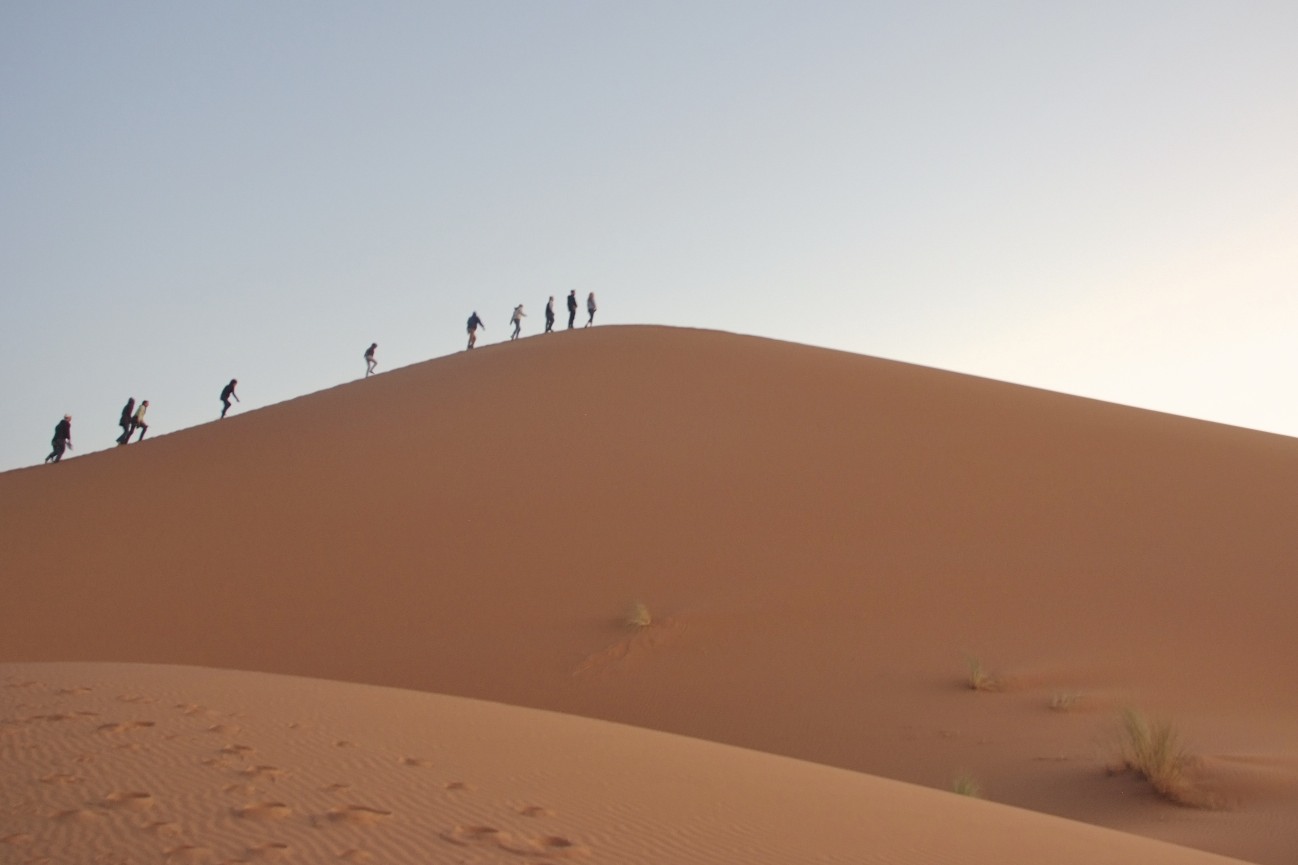
    There are few experiences on Earth that humble a traveler quite like lying on a sand dune in the Sahara Desert and looking up. The night sky erupts into a spectacle so dense with stars that first-time visitors often gasp audibly. The Milky Way stretches from horizon to horizon like a luminous river, shooting stars streak across the darkness every few minutes, and constellations that are invisible from city skies reveal themselves with breathtaking clarity.

    Morocco’s Sahara Desert, particularly the Erg Chebbi dune field near Merzouga, is rapidly becoming one of the world’s premier stargazing destinations. With minimal light pollution, dry atmospheric conditions, and high-altitude desert terrain, the conditions here rival those of Chile’s Atacama Desert or Hawaii’s Mauna Kea. But unlike those remote observatories, the Sahara offers something more: a cultural and sensory experience that connects you to thousands of years of human wonder beneath the same ancient sky.

    In this guide, we cover everything you need to know about stargazing in the Sahara, from the science behind why the desert sky is so spectacular to practical tips on equipment, timing, and the Berber star legends that have been passed down through generations.

    Why the Sahara Desert Is Perfect for Stargazing

    Minimal Light Pollution

    The single most important factor for quality stargazing is the absence of artificial light. The Sahara Desert is one of the largest and most sparsely populated regions on the planet. Once you venture beyond the small towns at the desert’s edge, there are virtually no electric lights for hundreds of kilometers in every direction. This means the sky achieves what astronomers call a “Bortle Class 1” rating, the darkest possible classification on the scale used to measure sky quality.

    In contrast, most European and North American cities register at Bortle Class 7 or 8, where only the brightest stars and planets are visible. In the Sahara, the difference is not subtle. You can see between 2,000 and 4,000 stars with the naked eye on a clear night, compared to just a few hundred from a typical urban area.

    Dry, Clear Atmosphere

    Morocco’s desert climate is characterized by extremely low humidity and minimal cloud cover, especially during the prime stargazing months. Water vapor in the atmosphere scatters and absorbs light, which is why humid coastal regions rarely offer pristine skies. The Sahara’s arid conditions mean that starlight travels through less atmospheric interference before reaching your eyes, resulting in sharper, brighter stars and better contrast against the dark sky.

    High Altitude Advantage

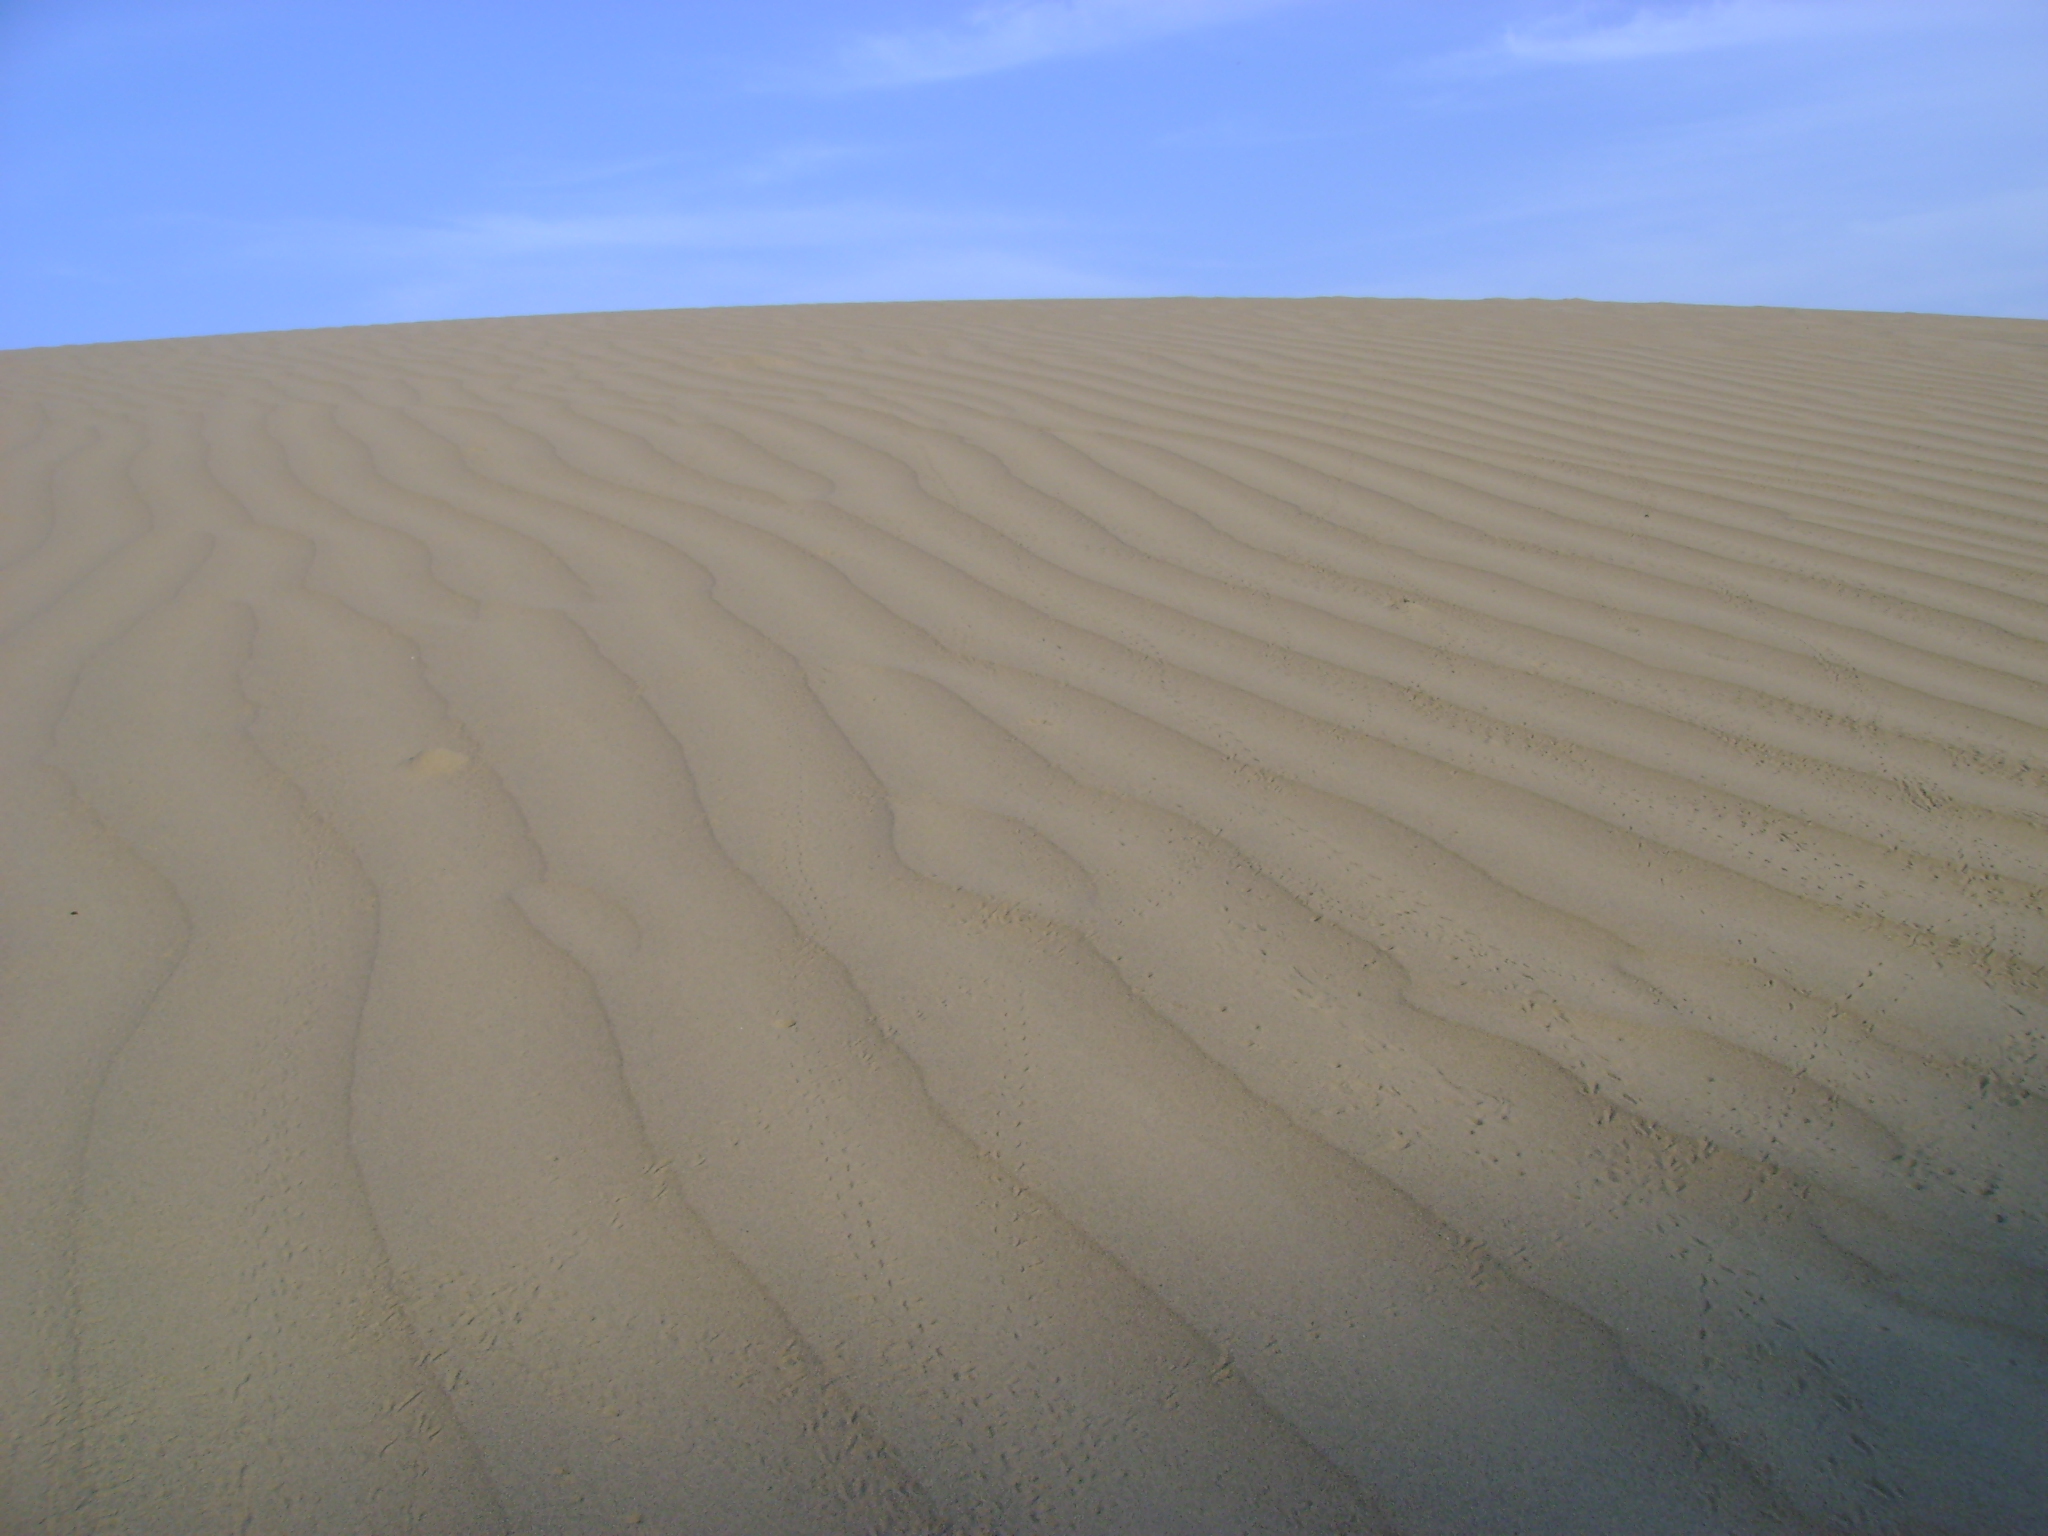
    The desert terrain around Merzouga and Erg Chebbi sits at approximately 700 to 900 meters above sea level. While not as extreme as mountain observatories, this elevation means less atmosphere to look through, further improving visibility. The flat, open terrain also provides an unobstructed 360-degree view of the horizon, a luxury that mountains, forests, and buildings deny to most observers.

    Stable Atmospheric Conditions

    Desert environments tend to have lower atmospheric turbulence at night compared to coastal or forested regions. This stability, known in astronomical terms as “good seeing,” means that stars appear as steady points of light rather than twinkling, flickering objects. For astrophotographers and telescope users, this translates into sharper images and more detailed views of planets, nebulae, and galaxies.

    What You Can See in the Sahara Night Sky
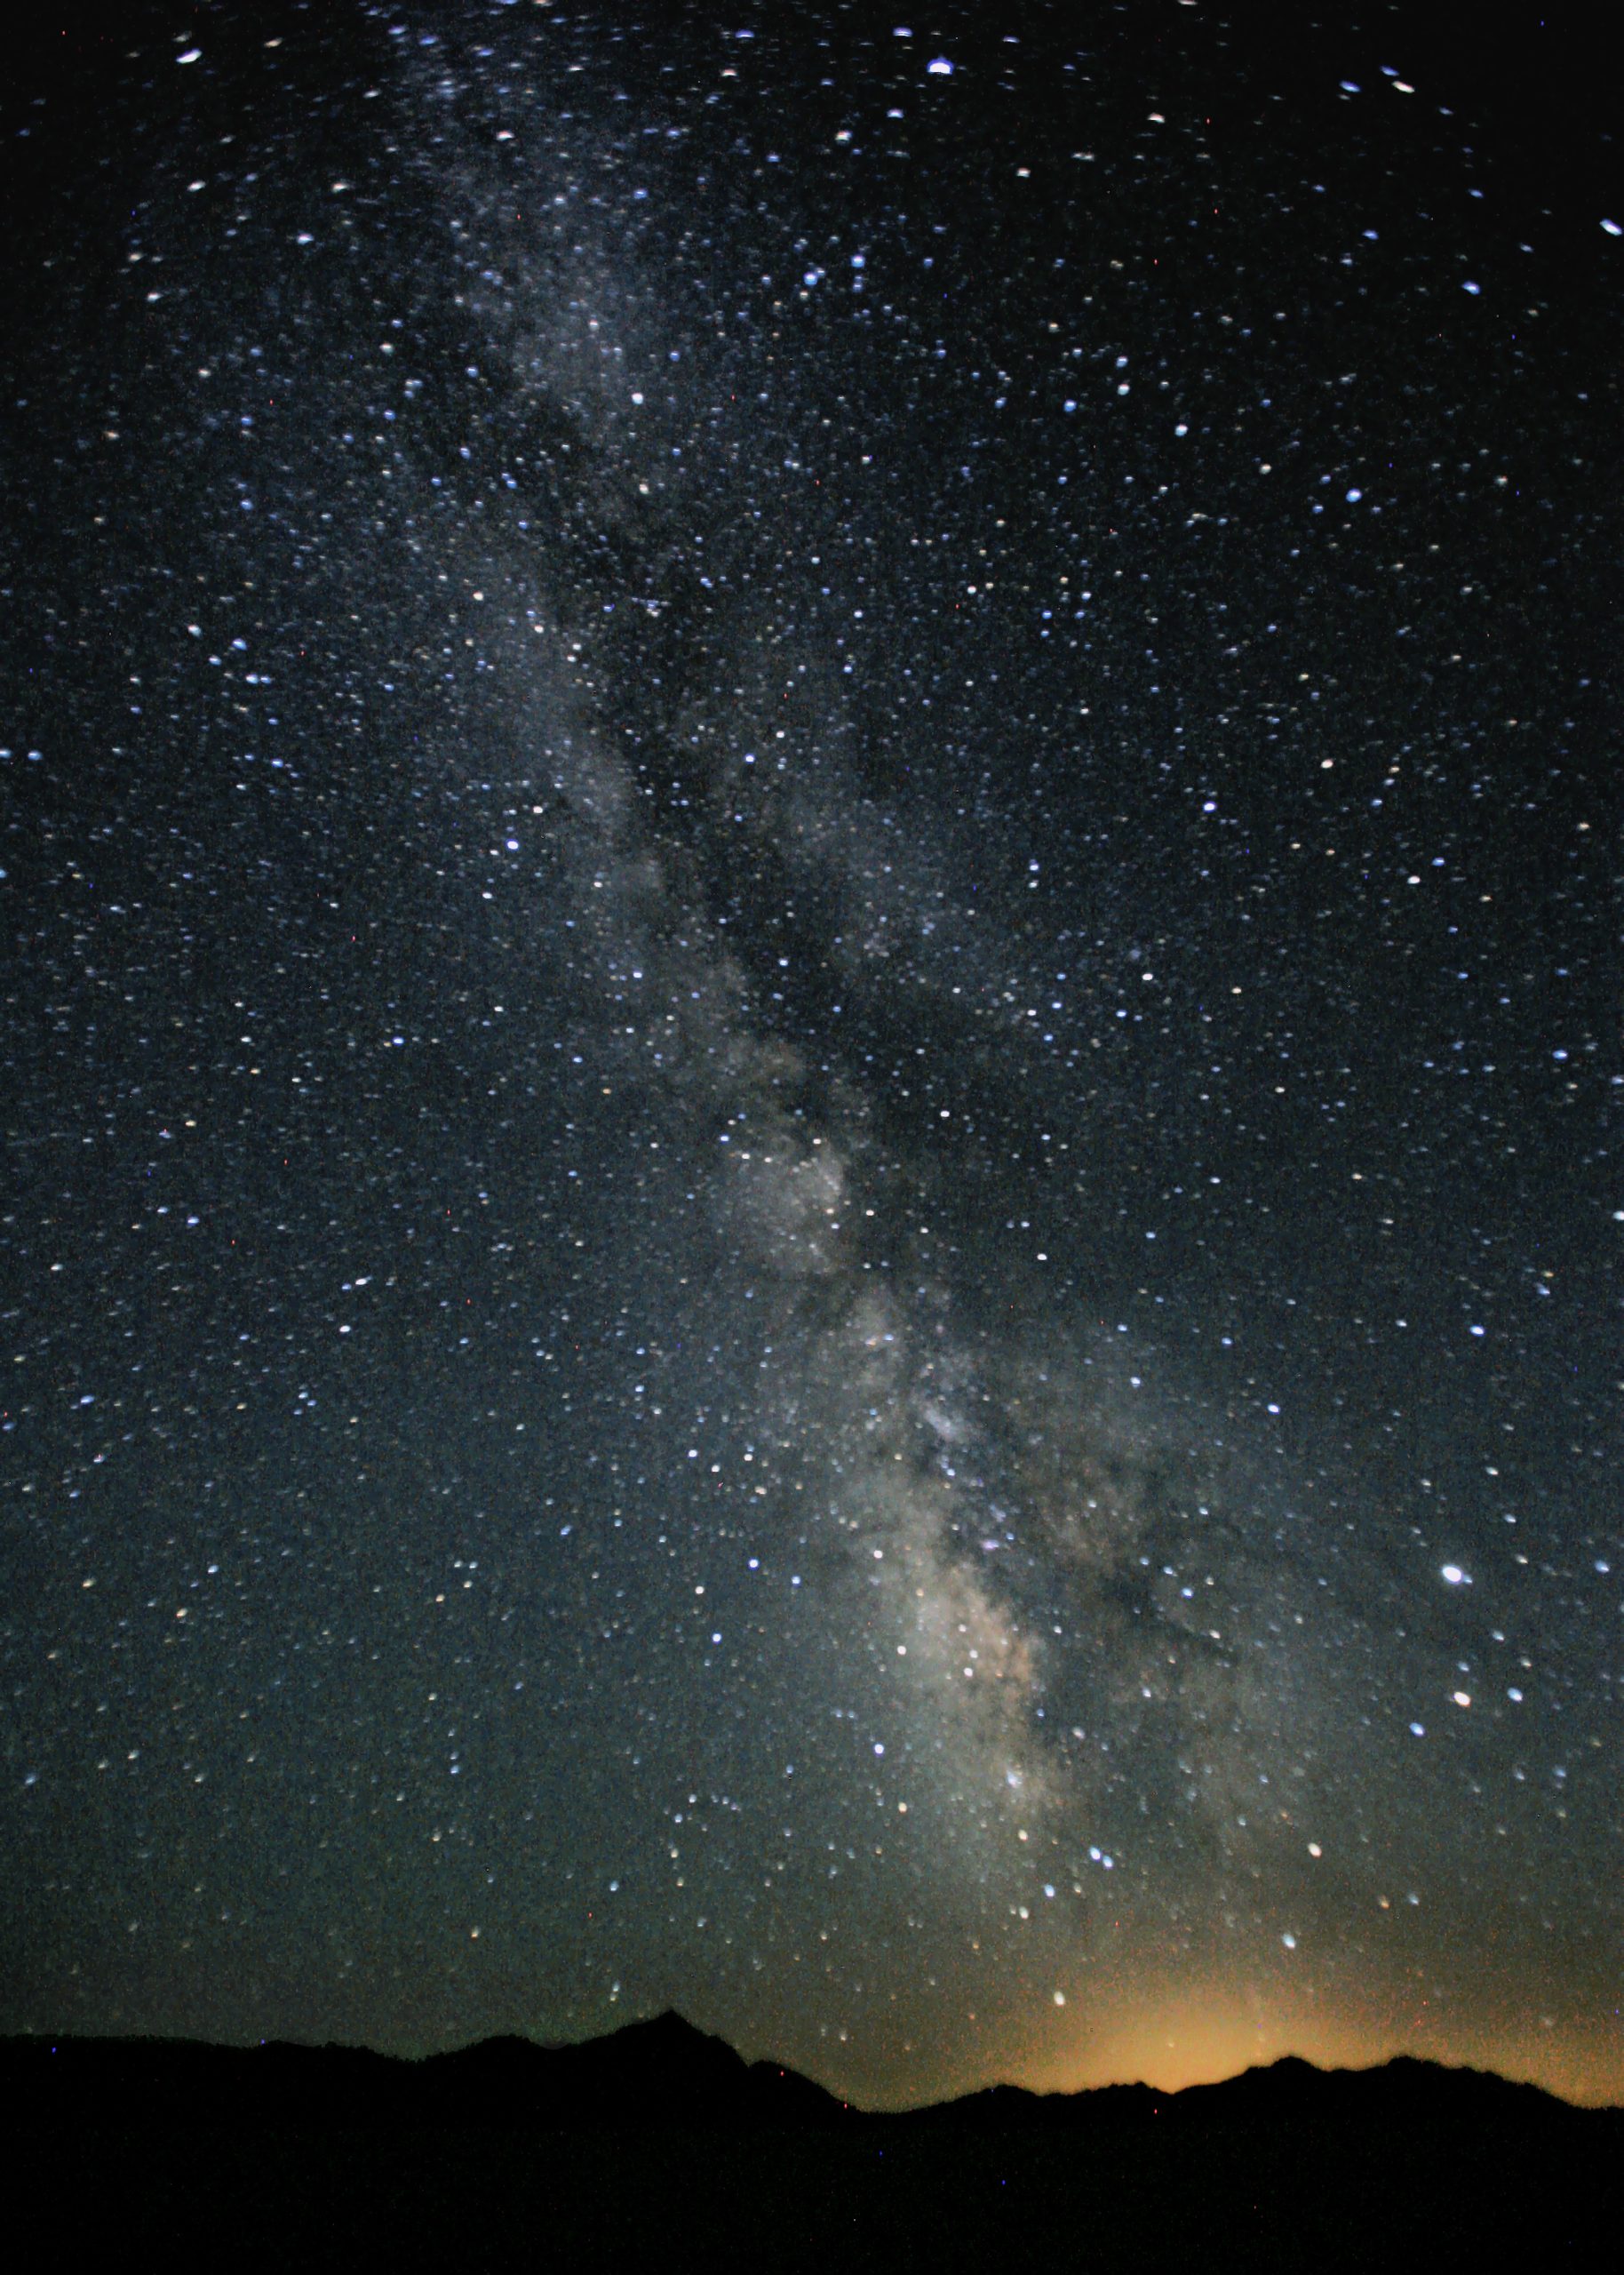
    The Milky Way

    The centerpiece of any Sahara stargazing experience is the Milky Way. Our home galaxy appears as a broad, luminous band arching across the entire sky, with enough detail visible to the naked eye that you can distinguish dark dust lanes, bright star clouds, and the dense galactic core in the direction of the constellation Sagittarius. During summer months, the Milky Way is particularly dramatic, rising nearly overhead with its brightest regions on full display.

    Constellations and Bright Stars

    The Sahara’s latitude, around 31 to 33 degrees north, provides access to a wide range of constellations from both the northern and parts of the southern celestial hemisphere. Key constellations and stars to look for include:

    • Orion (winter months): One of the most recognizable constellations, with its distinctive three-star belt and the bright stars Betelgeuse and Rigel. The Orion Nebula is visible as a fuzzy patch below the belt.
    • Scorpius (summer months): A dramatic constellation with the red supergiant Antares at its heart, sprawling across the southern sky near the Milky Way’s core.
    • Cassiopeia: A distinctive W-shaped pattern visible year-round in the northern sky, used for millennia as a navigation aid.
    • The Pleiades (autumn and winter): This open star cluster, also known as the Seven Sisters, appears as a small, jewel-like grouping that is stunning through binoculars.
    • Leo and Virgo (spring): These zodiacal constellations dominate the spring sky and lie near several galaxies visible through small telescopes.
    • The Southern Cross (Crux): While primarily a southern hemisphere constellation, its uppermost stars can occasionally be glimpsed just above the southern horizon from the Sahara during certain months, a rare treat for northern hemisphere observers.

    Planets

    Depending on the time of year, several planets may be visible. Venus and Jupiter are the brightest, often appearing as brilliant “stars” near the horizon during evening or morning hours. Mars, with its distinctive reddish hue, and Saturn, whose rings can be resolved through even a modest telescope, are also frequent visitors to the desert sky.

    Meteor Showers

    The Sahara is an exceptional location for watching meteor showers because the dark skies allow you to see even the faintest streaks. Major meteor showers to plan around include:

    • Perseids (mid-August): One of the most reliable showers, producing 60 to 100 meteors per hour at peak.
    • Geminids (mid-December): Often considered the best annual meteor shower, with bright, colorful meteors and rates exceeding 100 per hour.
    • Lyrids (mid-April): A moderate shower that can produce occasional bright fireballs.
    • Eta Aquarids (early May): Debris from Halley’s Comet, best viewed in the pre-dawn hours.

    Deep Sky Objects

    With the naked eye alone, you can spot the Andromeda Galaxy (M31) as a faint, elongated smudge, the most distant object visible without optical aid at 2.5 million light-years away. Binoculars or a small telescope open up dozens of additional targets, including the Orion Nebula (M42), the Lagoon Nebula (M8), the Hercules Cluster (M13), and the Ring Nebula (M57).

    Best Months for Sahara Stargazing

    Peak Season: March to May and September to November

    The ideal stargazing months balance clear skies, comfortable nighttime temperatures, and interesting celestial targets. Spring (March through May) and autumn (September through November) offer the best combination. Temperatures drop to a pleasant 10 to 18 degrees Celsius at night, skies are consistently clear, and the Milky Way is either rising or setting in dramatic fashion.

    Summer: June to August

    Summer provides the most spectacular Milky Way views, as the galactic core is highest in the sky during these months. However, daytime temperatures can exceed 45 degrees Celsius, and even nights remain warm at 25 to 30 degrees. The Perseid meteor shower in August makes this period particularly appealing for dedicated stargazers willing to endure the heat.

    Winter: December to February

    Winter skies feature Orion prominently and the Geminid meteor shower in December is world-class. Nighttime temperatures can drop below 5 degrees Celsius, so warm layers are essential. The trade-off is that winter nights are the longest, giving you more hours of darkness for observation.

    Moon Phase Matters

    Regardless of the month you choose, the moon phase is the single most important factor in sky quality. A full moon washes out all but the brightest stars and completely obscures the Milky Way. Plan your desert trip around the new moon (when the moon is absent from the night sky) or during the first few days of the crescent moon, which sets early in the evening and leaves the rest of the night dark. Check a lunar calendar before booking your Sahara desert tour to ensure optimal conditions.

    Essential Equipment for Desert Stargazing

    What to Bring

    • Red-light headlamp or flashlight: Red light preserves your night vision, which takes 20 to 30 minutes to fully develop. A white flashlight will destroy your dark adaptation instantly and disturb other observers.
    • Binoculars: A pair of 7×50 or 10×50 binoculars is the single best stargazing investment. They gather far more light than the naked eye, revealing star clusters, nebulae, and the detailed structure of the Milky Way. They are lightweight, require no setup, and do not need power.
    • Star chart or app: A printed star chart (which does not emit light) or a smartphone app with a red-light mode (such as SkySafari or Stellarium) will help you identify what you are looking at. Turn your phone brightness to minimum and use the app’s night mode.
    • Camera and tripod (for astrophotography): A DSLR or mirrorless camera with manual settings, a wide-angle lens (14mm to 24mm, f/2.8 or wider), and a sturdy tripod are the minimum requirements for capturing the Milky Way. A remote shutter release or intervalometer prevents camera shake.
    • Warm layers: Even in summer, desert nights can feel cool after hours of lying still on a dune. Bring a fleece or light jacket, a warm hat, and a blanket or sleeping bag to lie on.
    • Insect repellent: While less common in deep desert, mosquitoes and sandflies can be present near oases or camps.

    What NOT to Bring

    • White flashlights or phone screens at full brightness: These destroy night vision for you and everyone around you.
    • Large telescopes: Unless you are an experienced astronomer with desert travel logistics figured out, large telescopes are impractical for a camel trek into the dunes. Binoculars and the naked eye are far more rewarding for most visitors.

    For a complete list of everything you need for your desert adventure, see our What to Pack for a Sahara Desert Trip guide.

    Berber Star Legends and Desert Astronomy Traditions

    The Amazigh (Berber) people of the Sahara have observed and named the stars for thousands of years. Long before GPS and compasses, desert nomads navigated vast, featureless landscapes using the stars as their primary guide. This deep astronomical knowledge was not merely practical but woven into the cultural fabric of storytelling, agriculture, and spiritual life.

    Navigating by Polaris

    The North Star, Polaris, has been the most critical navigational reference for Saharan travelers throughout history. Berber caravans crossing the desert would orient themselves by finding Polaris and maintaining a consistent bearing relative to its position. Local guides today still point out Polaris as the first lesson in desert star navigation, and they can demonstrate how to find it using the pointer stars of the Big Dipper (Ursa Major).

    The Pleiades in Berber Tradition

    The Pleiades star cluster holds particular significance in Amazigh culture. In many Berber communities, the first appearance of the Pleiades above the eastern horizon before dawn (known as the heliacal rising) in early June traditionally marked important agricultural cycles and seasonal transitions. The cluster is associated with abundance and renewal.

    Stars as Storytellers

    Around the campfire in a Sahara desert camp, Berber guides often share local legends associated with the constellations. These stories vary by region and family, passed down orally through generations. Orion might be described as a hunter or warrior, the Milky Way as a celestial river, and the planets as wandering spirits. These narratives offer a deeply human connection to the sky that no telescope or textbook can replicate.

    When you join a desert camping experience with Duna Daurada, your local Berber guides share these traditions as part of the evening around the campfire, providing context and meaning that transforms stargazing from observation into storytelling.

    Astrophotography Tips for the Sahara

    The Sahara Desert is a world-class destination for astrophotography. The combination of dark skies, dramatic foreground subjects (sand dunes, desert camps, camels), and stable atmospheric conditions creates opportunities for stunning images.

    Camera Settings for Milky Way Photography

    • Mode: Manual (M)
    • Aperture: As wide as your lens allows (f/2.8 or wider is ideal)
    • Shutter speed: 15 to 25 seconds (use the “500 Rule” to avoid star trails: divide 500 by your focal length for maximum exposure time)
    • ISO: Start at 3200 and adjust based on results
    • Focus: Manual focus set to infinity, confirmed by zooming in on a bright star in live view
    • White balance: Daylight or around 4000K for natural-looking colors
    • File format: RAW for maximum post-processing flexibility

    Composition Ideas

    • The Milky Way arching over a single sand dune crest
    • A silhouetted camel caravan against the star-filled sky
    • Desert camp tents with warm interior light contrasting against the cool blue night
    • Star trails circling Polaris above the flat desert horizon
    • A lone figure standing on a dune ridge beneath the cosmos

    Practical Astrophotography Tips

    1. Arrive at your dune location before sunset to scout compositions while you can still see the terrain.
    2. Let your camera acclimate to the temperature for 15 to 20 minutes before shooting to avoid condensation on the lens.
    3. Bring extra batteries: Cold desert nights drain batteries faster than expected. Keep spares warm in an inner pocket.
    4. Protect your gear from sand: Wind can pick up at night. Keep your camera bag closed, change lenses quickly, and use a lens cloth frequently.
    5. Use a star tracker mount if you want pinpoint stars at longer exposures or with telephoto lenses.

    Planning Your Sahara Stargazing Experience

    The best way to experience stargazing in the Sahara is as part of a multi-day desert tour that includes an overnight stay in the dunes. A single night in a desert camp under the stars is enough to create lasting memories, but two or three nights allow you to adjust to the rhythm of the desert, improve your dark adaptation, and increase your chances of perfect sky conditions.

    Duna Daurada offers several desert tours that include overnight camping in the Erg Chebbi dunes near Merzouga, where the stargazing conditions are among the finest in Morocco. Our local Berber guides are knowledgeable about the night sky and happy to share constellations, legends, and navigation techniques around the campfire.

    If you have specific astronomical interests, such as photographing a particular meteor shower, observing a planetary conjunction, or simply ensuring you travel during a new moon, our team can help you plan a custom tour timed to the celestial calendar.

    How to Maximize Your Night Sky Experience

    1. Book around the new moon: This is the single most impactful decision you can make.
    2. Stay at least two nights in the desert: The first night is about adjusting; the second night is when you truly see.
    3. Skip the screens after sunset: Avoid phones, tablets, and bright lights for at least 30 minutes before stargazing to develop full night vision.
    4. Dress warmly: You will be stationary for extended periods, and the desert cools rapidly after sunset.
    5. Listen to your guide: Berber guides have grown up under these skies and can point out details you would never find on your own.

    Conclusion

    Stargazing in the Sahara Desert is one of those rare travel experiences that genuinely changes your perspective. Beneath a sky so dense with stars that the darkness itself seems to glow, the vastness of the universe becomes tangible. The silence of the desert amplifies the experience, stripping away distractions until nothing remains but you, the sand, and the infinite sky above.

    Whether you are a seasoned astronomer with a telescope and star charts, a photographer chasing the perfect Milky Way shot, or a traveler simply looking for something extraordinary, the Sahara delivers. Combined with the warmth of Berber hospitality, the crackle of a campfire, and ancient stories woven into the constellations, a night under the Sahara stars is far more than an astronomical event. It is a profoundly human one.

    Ready to see the stars as you have never seen them before? Browse our desert tours or get in touch to start planning your Sahara stargazing adventure.

  • Sahara Desert Photography: Tips for Capturing Stunning Dune Shots

    Sahara Desert Photography: Tips for Capturing Stunning Dune Shots

    The Sahara Desert is one of the most photogenic landscapes on earth. The endless sweep of golden dunes, the interplay of light and shadow across sinuous crests, the vast night sky blazing with stars, and the timeless scenes of camel caravans silhouetted against fiery sunsets create opportunities for images that are genuinely extraordinary. Yet the desert also presents unique challenges that can frustrate unprepared photographers. Harsh light, extreme contrast, blowing sand, and the sheer scale of the landscape all demand a thoughtful approach.

    Whether you are shooting with a professional DSLR, a mirrorless camera, or simply your smartphone, the principles of great desert photography remain the same. This guide covers everything you need to know to capture stunning images during your Sahara adventure, from technical camera settings and composition strategies to practical advice on protecting your gear and making the most of the desert’s magical light.

    Understanding Desert Light: The Key to Everything

    Light is the single most important factor in desert photography, and the Sahara offers some of the most dramatic lighting conditions you will encounter anywhere. Understanding how light behaves in the desert and timing your shooting around the best conditions will make a greater difference to your images than any piece of equipment.

    The Golden Hours: Sunrise and Sunset

    The golden hours, roughly the first and last hour of sunlight each day, are when the desert reveals its full beauty. During these periods, the low-angle sunlight rakes across the dune surfaces at oblique angles, casting long shadows that emphasize the flowing shapes and textures of the sand. The light itself takes on warm golden and amber tones that make the dunes seem to glow from within.

    Sunrise in the Sahara is particularly special. The air is cool and still, the sand is unmarked by footprints, and the transition from the blue-grey pre-dawn light to the first golden rays creates a rapidly changing palette that offers new compositions every few minutes. Most desert camps organize guided sunrise excursions to the top of nearby dunes, and this is time you should absolutely prioritize for photography.

    Sunset is equally magnificent but with a different character. The light is warmer, the shadows are longer, and the sky often develops vivid bands of orange, pink, and purple as the sun drops below the horizon. The period just after sunset, known as the blue hour, provides a cool, even light that is beautiful for wide landscape shots and portraits.

    Midday Challenges

    The middle of the day, roughly from 10 a.m. to 3 p.m., presents the most challenging conditions for desert photography. The sun is high and harsh, shadows are short and unflattering, and the intense light washes out the subtle textures and colors of the sand. The heat shimmer that rises from the ground can also cause distortion in distant subjects.

    This does not mean you should put your camera away entirely during midday. The high contrast of midday light can work well for abstract compositions, close-up details of sand patterns, and black-and-white photography where you want strong graphic shapes. It is also a good time for photographing the interior of tents and camp scenes, where the filtered light creates interesting patterns.

    Overcast and Hazy Conditions

    While rare in the Sahara, overcast skies and hazy conditions do occur, particularly in spring when wind-blown dust can create a soft, diffused light. This light is excellent for portraits, as it eliminates harsh shadows on faces, and for capturing the subtle color gradients of the dune surfaces.

    Composition Techniques for Desert Landscapes

    The Sahara’s vastness can be both inspiring and overwhelming from a compositional standpoint. The endless repetition of dunes and sand can make it difficult to create images with a clear focal point and a sense of depth. Here are the most effective composition strategies for desert landscapes.

    Leading Lines and S-Curves

    Dune ridges are natural leading lines that draw the eye through the frame. The sinuous S-curves formed by wind-shaped crests are among the most elegant compositions available in the desert. Position yourself so that a dune ridge enters the frame from a corner and curves toward the center or opposite corner, creating a flowing path for the viewer’s eye to follow.

    The sharp shadow lines that form along dune crests during golden hour are particularly effective as leading lines. Look for positions where light and shadow create parallel or converging lines that add depth and structure to your composition.

    Scale and Human Elements

    One of the biggest challenges in desert photography is conveying the immense scale of the landscape. A photograph of dunes without any reference point can look like a close-up of a sand ripple or a vast landscape; the viewer has no way to tell. Including a human figure, a camel caravan, or even a set of footprints immediately establishes scale and transforms the image.

    A small human figure on a distant dune ridge, for example, creates a powerful sense of the desert’s enormity. A camel caravan crossing the middle ground adds both scale and narrative. Footprints leading away from the camera into the distance create depth and invite the viewer into the scene.

    When shooting with people in the frame, pay attention to their placement. Positioning a figure at the intersection of thirds, on a ridge line, or silhouetted against the sky creates the strongest visual impact.

    Minimalist Compositions

    The desert naturally lends itself to minimalist photography. Look for compositions that reduce the scene to its essential elements: a single dune crest against a clear sky, a lone tree or shrub against smooth sand, or the simple geometry of light and shadow on a dune face.

    Negative space is your ally in the desert. Allowing large areas of sand or sky to dominate the frame creates a sense of openness and solitude that captures the essence of the Saharan experience. These stripped-back compositions often produce the most powerful and memorable images.

    Texture and Detail Shots

    Do not overlook the small-scale wonders of the desert. The wind creates intricate patterns in the sand that change constantly, ripples, waves, and crescent-shaped ridges that are fascinating at close range. Desert plants, insects, and animal tracks all provide compelling subjects for detail photography.

    For texture shots, get low and use a narrow aperture (f/11 to f/16) to ensure sharpness across the frame. Side lighting from the golden hours emphasizes these patterns most effectively, with the tiny shadows cast by each sand grain creating a three-dimensional quality.

    Camera Settings for Desert Photography

    Exposure and Metering

    Desert scenes can fool camera metering systems because of the high reflectivity of sand. Your camera’s meter will tend to underexpose desert scenes, trying to render the bright sand as a middle grey. The result is images that look dull and lifeless.

    The simplest correction is to add positive exposure compensation, typically between +0.7 and +1.3 stops, depending on conditions. Check your histogram regularly; the sand tones should fall in the right third of the histogram without clipping the highlights. Spot metering or center-weighted metering can also help, as they are less influenced by large areas of bright sand at the edges of the frame.

    For sunrise and sunset shots where the sky is much brighter than the foreground, consider using graduated neutral density filters or bracketing your exposures for later blending in post-processing.

    White Balance

    Auto white balance often performs well in the desert, but for the most accurate and consistent results, consider setting your white balance manually. A Daylight or Sunny preset works well for midday shooting, while a Cloudy or Shade preset can enhance the warm tones of golden hour light. If you shoot in RAW format (which is strongly recommended), you can adjust white balance precisely during post-processing.

    Aperture and Depth of Field

    For sweeping landscape shots, use a narrow aperture between f/8 and f/16 to ensure sharpness from foreground to background. Focus approximately one-third of the way into the scene for optimal depth of field, or use hyperfocal focusing if your lens supports it.

    For portraits and subject-focused shots, a wider aperture (f/2.8 to f/5.6) will separate your subject from the background with a pleasing blur. The smooth, uniform sand of the desert makes an excellent background for portraits at wide apertures.

    Shutter Speed Considerations

    In bright desert conditions, shutter speed is rarely a concern for landscape photography, as there is plenty of light available. However, if you are photographing blowing sand, a fast shutter speed of 1/1000 second or higher will freeze the individual grains in motion, while a slower speed of 1/30 to 1/125 second will create a sense of movement and energy.

    For camel caravan shots, a shutter speed of 1/250 to 1/500 second will typically freeze the movement while still looking natural. For creative motion blur effects, experiment with slower speeds and a steady tripod.

    Night Sky and Astrophotography in the Sahara

    The Sahara offers some of the best conditions for night sky photography anywhere in the world. With virtually no light pollution, the night sky reveals the Milky Way, countless stars, and deep-sky objects with remarkable clarity. Capturing this requires specific techniques and some additional equipment.

    Essential Gear for Night Photography

    A sturdy tripod is absolutely essential for night sky photography. You will be using long exposures of 15 to 30 seconds, and any camera movement will result in blurred stars. A remote shutter release or your camera’s built-in timer will help avoid shake when triggering the shutter.

    A fast wide-angle lens is ideal. A focal length between 14mm and 24mm (on a full-frame sensor) with a maximum aperture of f/2.8 or wider will gather the most light and capture the widest expanse of sky. Kit lenses with maximum apertures of f/3.5 or f/4 can still produce good results but will require higher ISO settings.

    Camera Settings for Star Photography

    For sharp star images without visible trailing, use the 500 rule: divide 500 by your focal length to determine the maximum exposure time in seconds before stars begin to streak. For example, with a 20mm lens, the maximum exposure is 25 seconds.

    Set your lens to its widest aperture (f/2.8 or wider if possible) and your ISO to between 1600 and 6400, depending on your camera’s noise performance. Focus manually on a bright star using live view at maximum magnification, as autofocus will struggle in the dark.

    Shoot in RAW format to retain maximum detail and flexibility in post-processing. The Milky Way core is visible in the Sahara sky from approximately March through October, with the best visibility between May and September when it arcs high overhead.

    Composing Night Sky Images

    The most compelling night sky photographs include an interesting foreground element that anchors the image and provides context. In the desert, this might be a dune silhouette, a camp tent with warm interior light, a camel resting on the sand, or the figure of a person gazing upward.

    Position the Milky Way as a strong diagonal element in your frame, ideally arcing from one corner toward the opposite side. Including the horizon creates a sense of place, while shooting straight up captures the densest star fields.

    Star Trails

    For a different approach, long-exposure star trail photographs capture the rotation of the earth as circular streaks of light across the sky. These require exposures of 30 minutes to several hours, achieved either through a single very long exposure or by stacking many shorter exposures in post-processing. The stacking method is preferred as it reduces noise and allows for more flexibility.

    Point your camera toward Polaris (the North Star) to capture circular trails centered on the celestial pole, or aim south for trails that arc across the frame in parallel curves.

    Phone Photography: Making the Most of Your Smartphone

    Not every traveler carries a dedicated camera, and modern smartphones are capable of producing excellent desert images with the right technique. Here are tips specifically for smartphone photographers.

    Maximizing Phone Camera Performance

    Use your phone’s HDR mode for landscape shots. This feature captures multiple exposures and combines them, helping to manage the extreme contrast between bright sand and darker sky or shadow areas. Most modern phones handle HDR processing very effectively.

    Clean your lens before every session. Desert sand and dust accumulate on phone lenses quickly and can cause hazy, low-contrast images. A microfiber cloth kept in a pocket is essential.

    Use the exposure lock feature (available on most phones by long-pressing on the screen) to control exposure in tricky lighting conditions. Tap on the bright sand to expose for highlights, or tap on shadows to reveal detail in darker areas.

    Night Mode on Phones

    Modern smartphone night modes have improved dramatically and can capture surprisingly good images of the night sky. While they will not match a dedicated camera with a fast lens, they can record the brighter stars and the general shape of the Milky Way. Use a phone tripod or prop your phone against a stable surface to keep it steady during the multi-second exposure that night mode requires.

    Panorama Mode

    The desert’s vast horizons are ideal for panoramic images. Use your phone’s panorama mode to capture sweeping views that convey the scale and openness of the landscape. Move slowly and steadily for the best results, and keep the horizon level throughout the sweep.

    Protecting Your Gear in the Desert

    Sand is the enemy of cameras and lenses. Fine Saharan sand can infiltrate zoom mechanisms, clog focus rings, and scratch lens surfaces if you are not careful. Taking precautions to protect your equipment will save you from expensive repairs.

    Sand Protection Strategies

    When you are not actively shooting, keep your camera in a sealed bag. A simple ziplock bag works in a pinch, but a dedicated camera rain cover or a padded camera bag with tight closures is better. Never change lenses in windy conditions; the brief moment when the sensor is exposed is enough for sand to enter and cause damage.

    Bring lens cleaning supplies including a blower brush (the most important tool for removing sand without scratching), lens tissues, and a microfiber cloth. A UV or clear protective filter on your lens provides an inexpensive layer of protection for the front element.

    Battery and Memory Management

    Heat accelerates battery drain, and cold desert nights can reduce battery capacity significantly. Carry at least two fully charged batteries and keep spares in an inside pocket close to your body to maintain their temperature. Memory cards are inexpensive; bring more than you think you need and shoot generously.

    Making the Most of Your Desert Photography Experience

    The best desert photographs come from patience, preparation, and a willingness to wake up early and stay out late. Here are final tips for maximizing your photographic results during a Sahara trip.

    Plan your compositions in advance by scouting locations during the afternoon when the light is less favorable. Identify the dune ridges, curves, and subjects you want to photograph, then return during golden hour when the light transforms the scene.

    Embrace the changing conditions. No two sunrises or sunsets in the desert are the same, and unexpected weather events like dust haze, high-altitude clouds, or sudden wind can create dramatically different and often more interesting images than clear-sky conditions.

    Take your time. The impulse to snap quickly and move on is strong, especially when the light is changing rapidly, but the best images come from careful observation and deliberate composition. Spend time looking at the scene with your eyes before you raise the camera.

    When you book a desert tour with Duna Daurada, our guides are happy to help you find the best photography locations and can adjust the itinerary to accommodate sunrise and sunset shooting sessions. For dedicated photographers, we can create custom itineraries that prioritize photographic opportunities, including extended time in the dunes, visits to photogenic locations, and timing around optimal lighting conditions.

    Bringing Your Images to Life: Post-Processing Tips

    Even the best in-camera images benefit from thoughtful post-processing. For desert photographs, a few key adjustments can transform a good image into a great one.

    Increase the warmth slightly to enhance the golden tones of the sand. Boost clarity or texture to emphasize the fine patterns and ripples in the dune surfaces. Adjust the shadows and highlights to recover detail in both bright sand and darker shadow areas. A subtle vignette can draw the eye toward the center of the frame and away from the edges.

    For night sky images, increase the contrast and clarity to make stars pop against the dark sky. Adjusting the white balance toward cooler tones can enhance the blue and purple hues of the Milky Way. Noise reduction is usually necessary for high-ISO night shots, but be careful not to over-smooth the image at the expense of star detail.

    Your Desert Portfolio Awaits

    The Sahara Desert is a place that demands to be photographed. Its beauty is so extraordinary, so unlike anything in our daily experience, that the camera becomes an essential tool for processing and preserving what we see. Whether you return home with a collection of professional-grade landscape images or a phone full of snapshots that capture the feeling of being there, your Sahara photographs will be among the most treasured images you ever take.

    Explore our desert experiences and start planning a trip that gives you the time, access, and guidance to capture the Sahara at its most magnificent. The golden dunes, the infinite stars, and the timeless beauty of the desert are waiting for your lens.